Even if all you want to do is program a robot, it still helps to know what they’re made of.
If you’re a developer or maker who’s interested in robots, you’re in luck these days, because you no longer have to build a robot to program or modify one. Robotics companies are finally producing highly capable robots — with advanced components and features — that don’t require assembly. Instead, right out of the box, you can create skills and accessories for them. To those of us in this field, that’s a big deal.
Still, if you are interested in robots, I highly recommend you at least considerputting together a simple one at some point. Your robot may not end up having all the latest advanced capabilities, but it’s a great learning experience. In addition, building your own robot gives you a good appreciation for the kind of engineering that goes on behind the scenes with commercial robots.
If nothing else, building your own robot is an easy way to find out where the gaps in your knowledge are. No one knows everything, so it’s a good idea to make use of online resources (there are many step-by-step tutorials) or join a local meetup.
Let’s start at the beginning. Note that we’re not going to go deeply into detail here. The goal is just to provide a map of the world. It’s up to you to choose your exact destination.
Locomotion
When most people think of robots, they think of a mobile platform, but not all robots move. Mobility is not a requirement, but it does help a robot feel alive if it can explore its environment.
There are many locomotion systems to choose from. There are wheeled bases, which are pretty common and easy to work with. Multi-legged systems like a hexapod allow the robot to walk like an insect across rougher terrain than wheels, but are harder to implement. And, of course, there are more exotic locomotion systems, like some of the two-wheeled balancing robots and even bipedal walking robots.

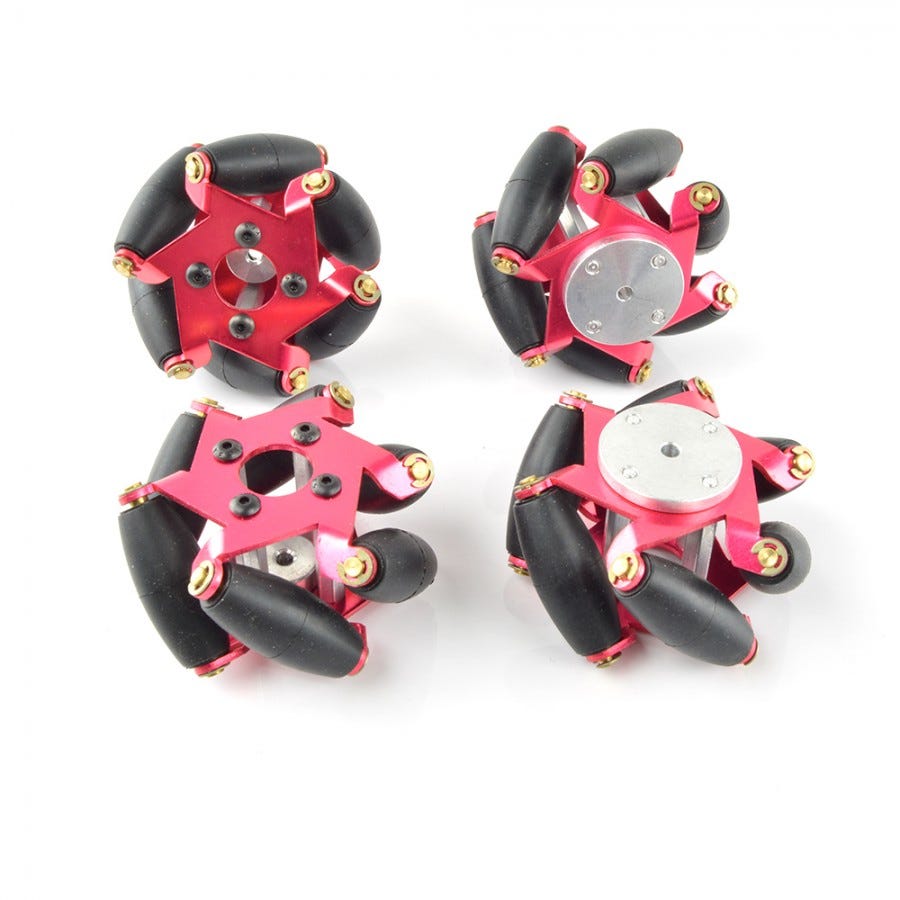
What kind of locomotion platform do you want? For this example, let’s go with an off-the-shelf wheeled platform. Maybe you want to personalize it and make it your own, so let’s throw some omniwheels on it. They make it a lot more maneuverable, and you don’t need to worry about a steering system. Now you have your base.
Motors
If you’ve ever worked with a mechanical project before, hooking up a motor to your robot is not super challenging. What is challenging is figuring out the type of motor to use and how powerful it should be.
Many off-the-shelf platforms come with motors, but in case yours doesn’t, here are some simple tips to select something appropriate. Let’s consider these basic parameters:
- Physical dimensions. Pretty self-explanatory, but the motors must fit inside your platform! Other important dimensions to consider are the shaft length and diameter. If they don’t match your wheels, it’s not a deal breaker, but you’ll need to fashion a custom adapter or modify your wheels.
- Operating voltage. It is critical to match your battery voltage with the normal operating voltage of the motors. Luckily, motors sold on most hobby websites are already matched or clearly marked. If you try to power a motor with a voltage higher than its operating point, the motor can draw too much current, overheat, and burn out, effectively turning your robot into a rock.
- Torque. This one is difficult to estimate without knowing exactly what your robot will be doing and modelling the kinetics of the motions it will make. The required torque depends on the drive type (wheels, tracks, omniwheels etc.), terrain, number of motors, wheel diameter, top speed, lowest required speed, and weight of the robot among other things. Motors tend to be happiest when they are spinning fast with a low load (low torque) so a good strategy is to oversize them. An oversized motor (in terms of torque) prolongs the motor life, reduces operating noise, and has some extra room to overcome the inefficiencies that inevitably crop up in hand-built robots. A good rule-of-thumb is to estimate the torque requirements for each motor as best you can and double it.
With these numbers in hand, you can visit nearly any hobby website and select the appropriate motor.
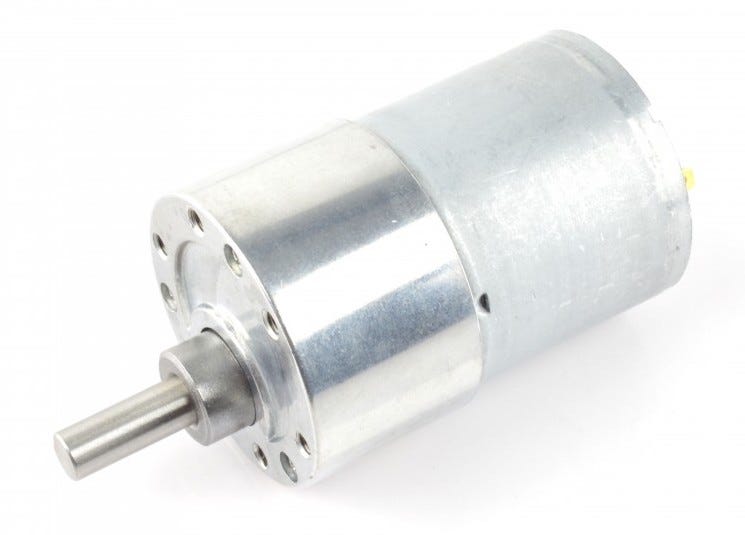
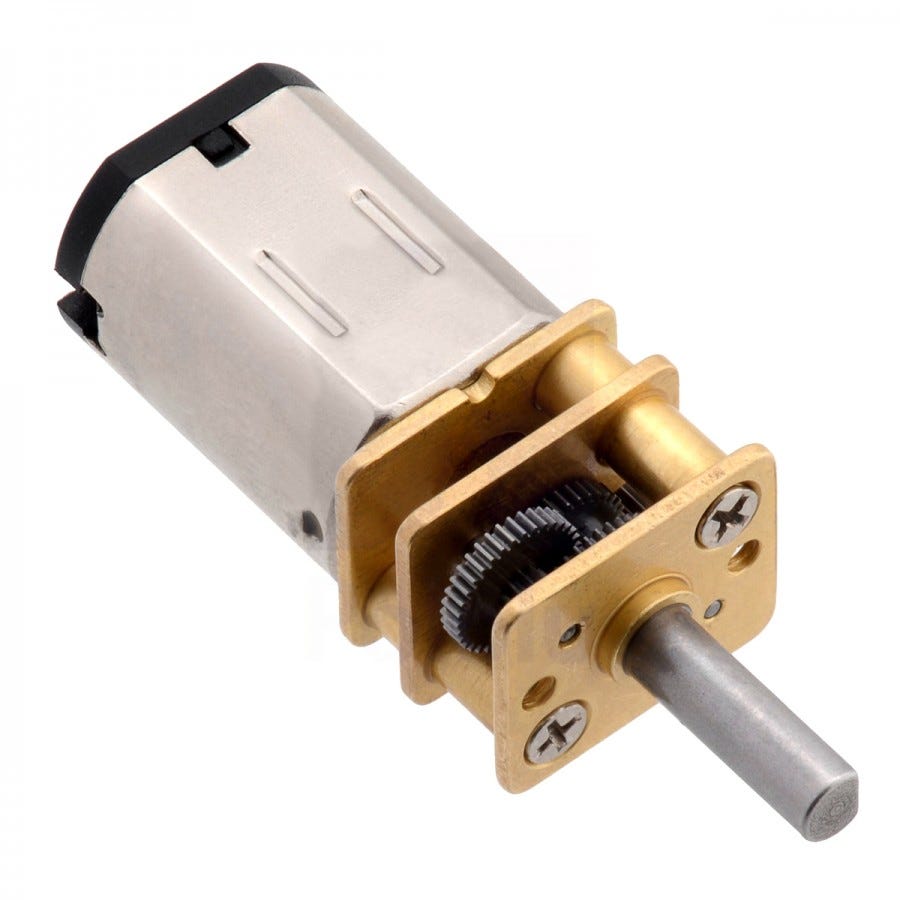
What about gearboxes? No worries. Many motors come with integrated gearboxes. This is absolutely the way to go for a project like this, and the numbers quoted on websites selling these motors already take the gearboxes into account. No additional calculations necessary!
Power
Having selected a roughly appropriate motor and attached it to the platform, it definitely needs some power. Sure, you can just throw some batteries on your robot and call it done. But what kind? How strong do they have to be to power the platform plus anything else you want to put on it? That’s going to depend on what else you want our robot to do.
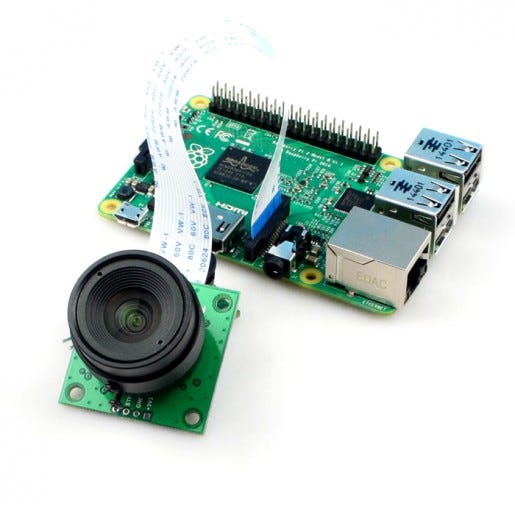
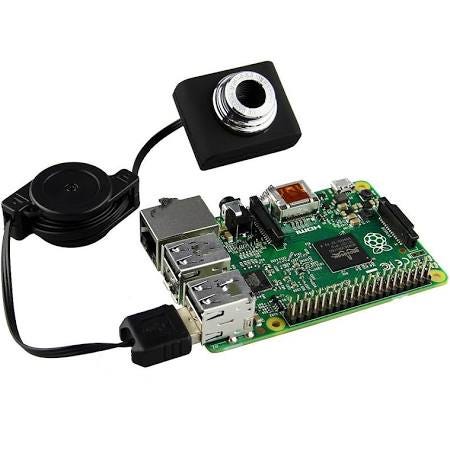
To come up with a power budget, you need to start thinking ahead. You don’t want just a remote-controlled car, so how about adding on a Raspberry Pi? They’re super common, and the power requirements are pretty well known.
What else do you need to power? Well, you want the robot to sense its environment, so you need to figure sensors into the power budget. And being able to send photos or video is nice, so you might strap a webcam onto it. (We won’t worry about being able to manipulate the environment for a first robot. Arms, hands, grippers, and other robot appliances are a whole other topic!)
Batteries come in many types, but generally fall into two categories: Primary (think AA, single use), and rechargeable (like Lithium Ion and NiMH). Most robots use rechargeable batteries, and with the proliferation of RC cars, Lithium Polymer (LiPo) batteries have become affordable and effective. Note: LiPo batteries can be dangerous if handled or charged improperly! Please follow instructions and charge them on a charger specifically designed for them. You don’t want you to ruin your robot (or worse)!
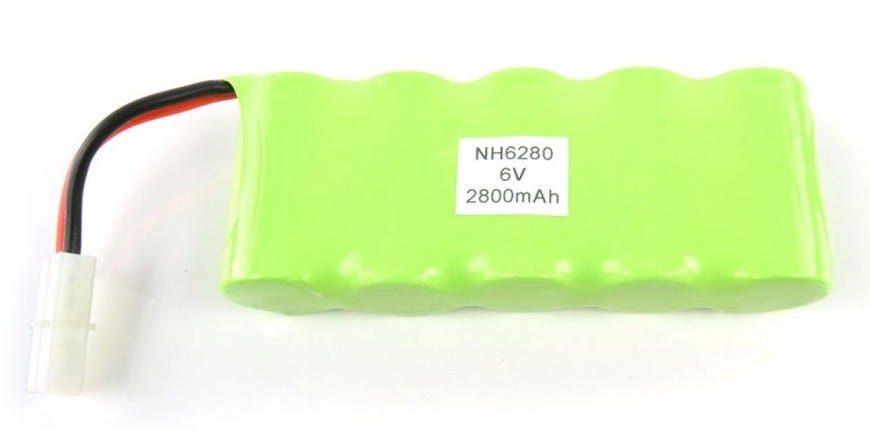
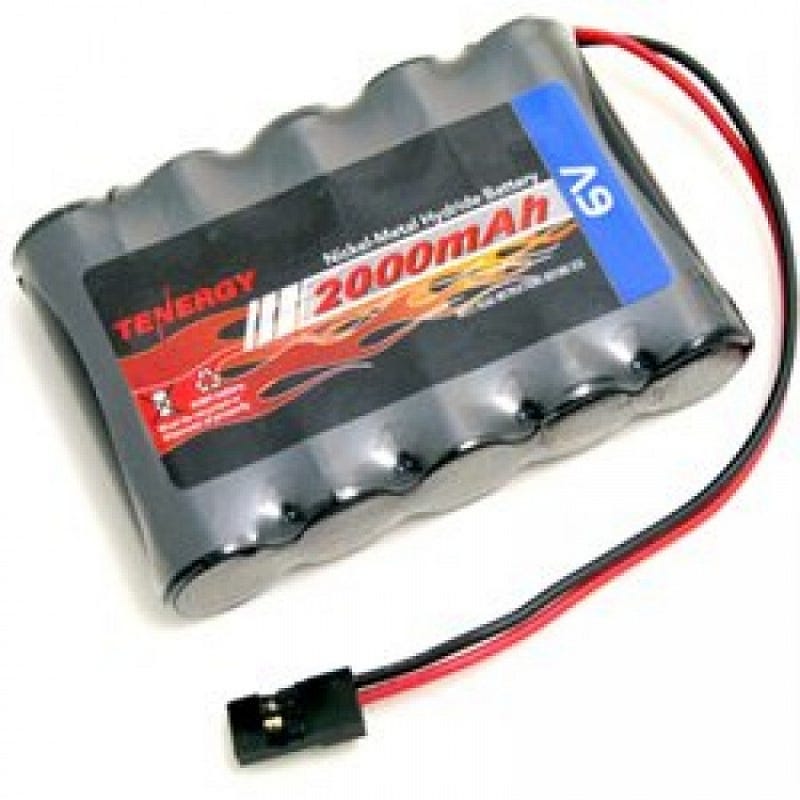

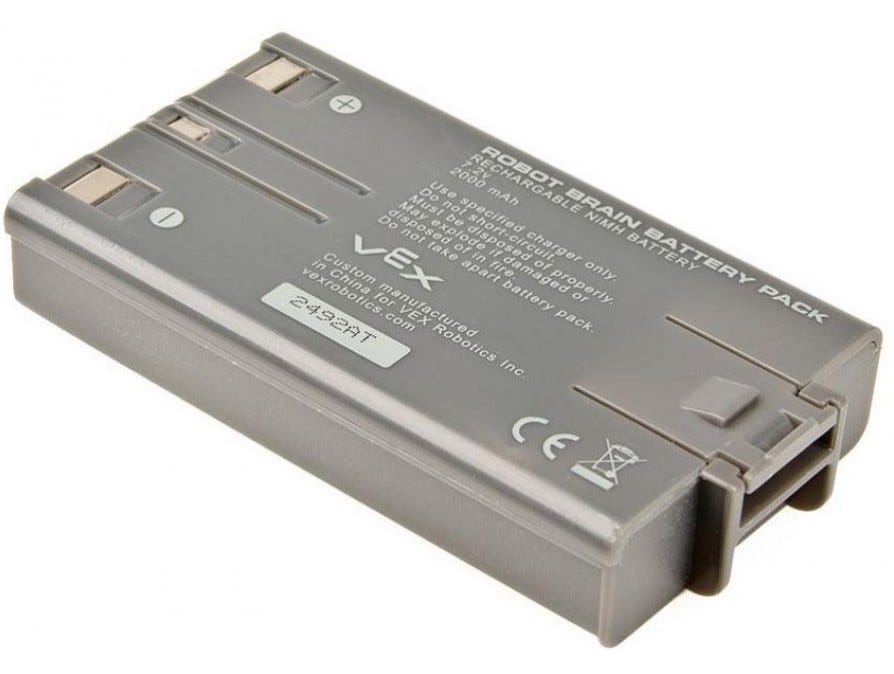
Since LiPo’s are so common in small robots, let’s use one of those and again identify the important parameters:
- Physical Dimensions. Batteries come in many aspect ratios, so you’ll need a rough idea of where the battery will be located in the robot to ensure it fits.
- Voltage. This will likely be governed by your motors. LiPo batteries commonly come in 3.7v, 7.4v, and 11.1v packs. Don’t worry if you’re using a 12v motor and an 11.1v battery, it will function just fine. It’s also important to make sure your electronics are designed to tolerate your battery’s voltage. (See the note above with motors.) If not, you’ll need a power regulator to reduce the voltage for the electronics.
- Capacity. This is a measure of the total energy stored in the battery and usually has units of milliamp-hours (mAh), which makes calculations pretty easy. If your target run time between charges is 1 hour, and your robot draws 1 amp (1000 mA), you’ll need a battery with a capacity of at least 1000 mAh. Motors tend to be the largest power consumers in small robots, so it can be a reasonable simplification to estimate the current draw for each motor, add them up, and use that for your calculation. If you’re adding on a lot of brain power, motor controllers, and accessories, giving yourself a decent cushion is a good idea. It never hurts to add extra capacity, unless you’re really squeezed for space.
- Discharge rate. This refers to the rate at which the battery can convert the stored chemical energy in its cells into electrical current. It’s specified by a “C” rating, which is simply a multiplier of the capacity. For example, a 1000 mAh battery with a 1C discharge rate can safely provide 1000 mA of current. The same battery with a 2C rating can provide 2000 mA of current. It’s critical that this rating for the battery be higher than the total current you expect your robot to draw, otherwise the battery could be ruined or even catch fire. Luckily the RC car market has pushed the industry to very high discharge rates, so it’s not too hard to find batteries with a discharge rate that will be fine for your robot.
Sensors
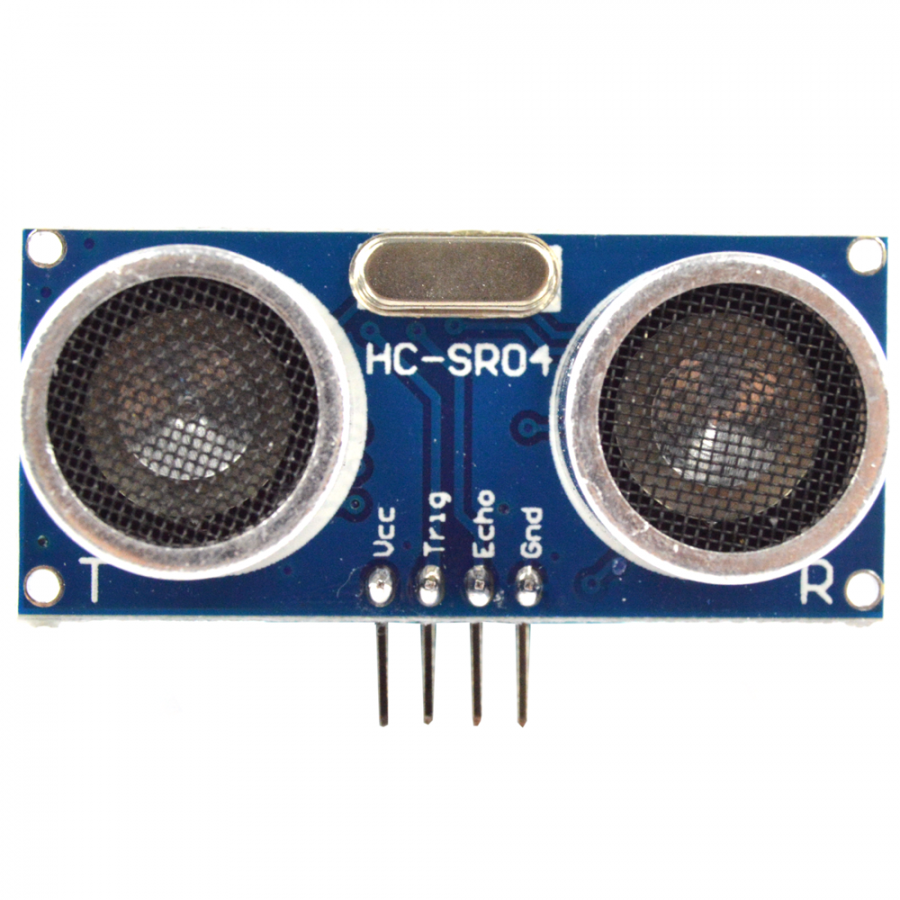
I recommend starting with simple proximity sensors, such as ultrasonic or time-of-flight sensors. These just give a distance measurement in the direction that the sensor is facing.
The ultrasonic sensors will probably use UART (Universal Asynchronous Receiver-Transmitter) to communicate with the Pi. It’s a common protocol for sensors and very easy to pick up and implement. But if you don’t know how to use it already, then you’ll need to do a little more research. Fortunately the Pi already supports UART so you just have to hook it up and then write the software to interface with them and make decisions based on the data. Depending on what you want it to do with that data, the programming side of things can be as easy or complex as you want to make it.
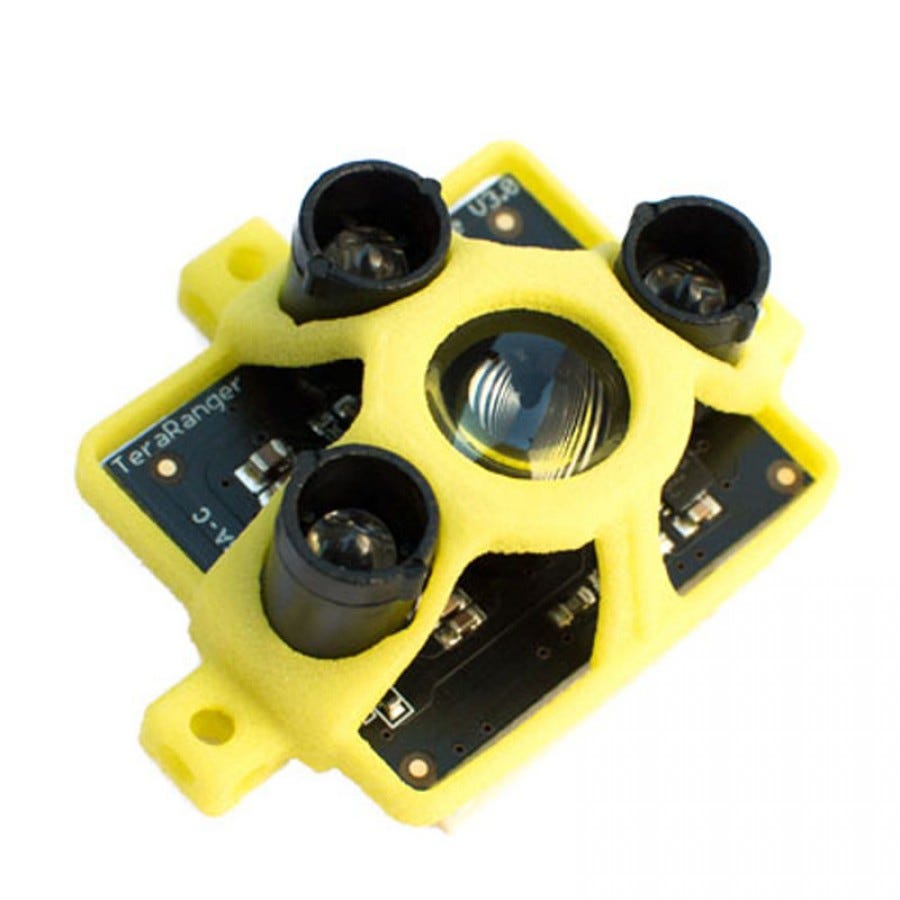
How about SLAM capability? SLAM stands for Simultaneous Localization and Mapping. There are many different methods and sensor types ranging from dual-camera solutions to expensive LIDAR (Light Detection and Ranging) packages like the type used in autonomous cars. This is what allows a robot to make a detailed map of its surroundings and know where it is at any given time.
There are actually SLAM methods that just use a simple robot like this with distance sensors and an IMU (Inertial Measurement Unit) to make maps. They’re not terribly detailed, and it won’t be able to distinguish between your cat and the ottoman, but it’s a great way to learn how SLAM works. But mapping may be a little too complicated for a first robot. Maybe your robot should just detect when something gets close and turn until it can move freely again.
Video?
You can put a camera on your robot and give it the ability to do take pictures or stream video. We mentioned a webcam earlier, when we were talking about the power budget. A webcam is one of the easiest things to attach to a robot, because it usually just connects straight into the Pi, but once it’s on there, what can you do with it?
You could hook it up to some computer vision software to do face and object detection and recognition. These abilities are a lot more processing intensive, so they require a pretty good onboard computer. You could insead just pipe the video stream off to a cloud service to do your computer vision, but then you need to manage that wireless connection.
The bottom line is that computer vision is fairly complicated. Although there are some libraries that make it easier, like OpenCV, it’s still an entire discipline all to itself. Maybe your robot should just take pictures every once in a while or stream the video, so you can keep an eye on things around the house.
Brains!
Then there’s the question of how much in the way of intelligence you want your robot to have. Doing a lot of processing on a mobile platform can be fairly energy intensive. The robot’s “brain” will need to tie all of the sensor input together to make decisions and then control the motors to act on those decisions.
Frankly, that’s why a lot of the robots people can buy or build for a reasonable price are basically remote controlled cars with some extras bolted on. Not only do you need to build the processor into the robot and add it to the power budget, you then need to program it. That’s either the fun part for you, because you’re a software developer, or an incredibly daunting task because you’re literally anyone else.
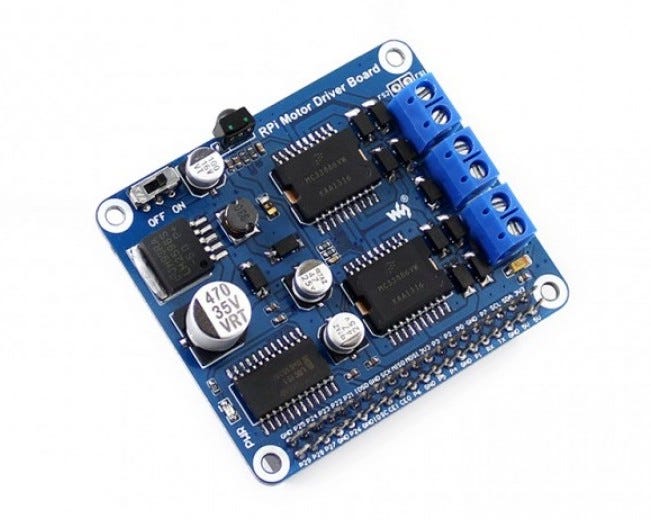
We’ve talked about using a Raspberry Pi, but when you start putting all the pieces together, you’ll realize that you can’t drive all those things off of the Raspberry Pi directly. For one thing, you’ll need motor controllers that supply the correct power to the motors based on how fast you want them to move. Yes, the Pi has to be able to talk to the motor controller to control it, but the motors will actually be powered through the controller itself. You can design controller boards yourself or you can pick up a pre-made one, but you’ll still need to hook it up to the Pi.
And then there’s the programming. You’ll need to program the brain to control the controller. Ideally, you’ll write software to take in all that sensor data, make decisions based on it, and send commands down to the motors to make it all work. One option is to use an open source package like ROS (Robot Operating System) and just code the specific behaviors you want. If you’re a more advanced coder, you may want to write it all yourself. It all depends on what your skills are, and what you want to get out of your robot project.
Teamwork (and Persistence)
Having finally integrated all the parts of your fresh, new robot, you may find that the biggest challenges happen when you start to use it.
Believe me, you can follow the instructions to build something exactly, yet it may not work right the first time. A myriad of things can go wrong, any of which are easy for someone to solve if that’s their area of expertise. This is why large companies employ so many people with very specific backgrounds in mechanical, electrical, and software engineering. Not only are they more likely to know from the outset what a solution should entail, it’s also easier for them to troubleshoot when something invariably doesn’t work right.
For a hobbyist builder, your biggest assets are grit, humility, and a willingness to ask for help. Keep learning, keep reaching out, keep experimenting and trouble-shooting. Those really are necessary components in building a robot.
SOURCE: https://medium.com/mistyrobotics/what-goes-into-building-a-robot-d68426768f56