By: Morgane Santos
Since the release of ARKit last year, our team has been obsessed with how location can help Augmented Reality reach its true potential, going beyond just gaming to changing the way users explore and connect with the world. I’ll be honest though, when we started our team members were still experimenting with building for mobile AR.
We’ve learned a lot since then, and with the launch of our AR Team and our new React Native AR SDK and Scene Kit SDK, we thought it was only fitting to share a little bit of what we uncovered.
The Basics: What is Augmented Reality?
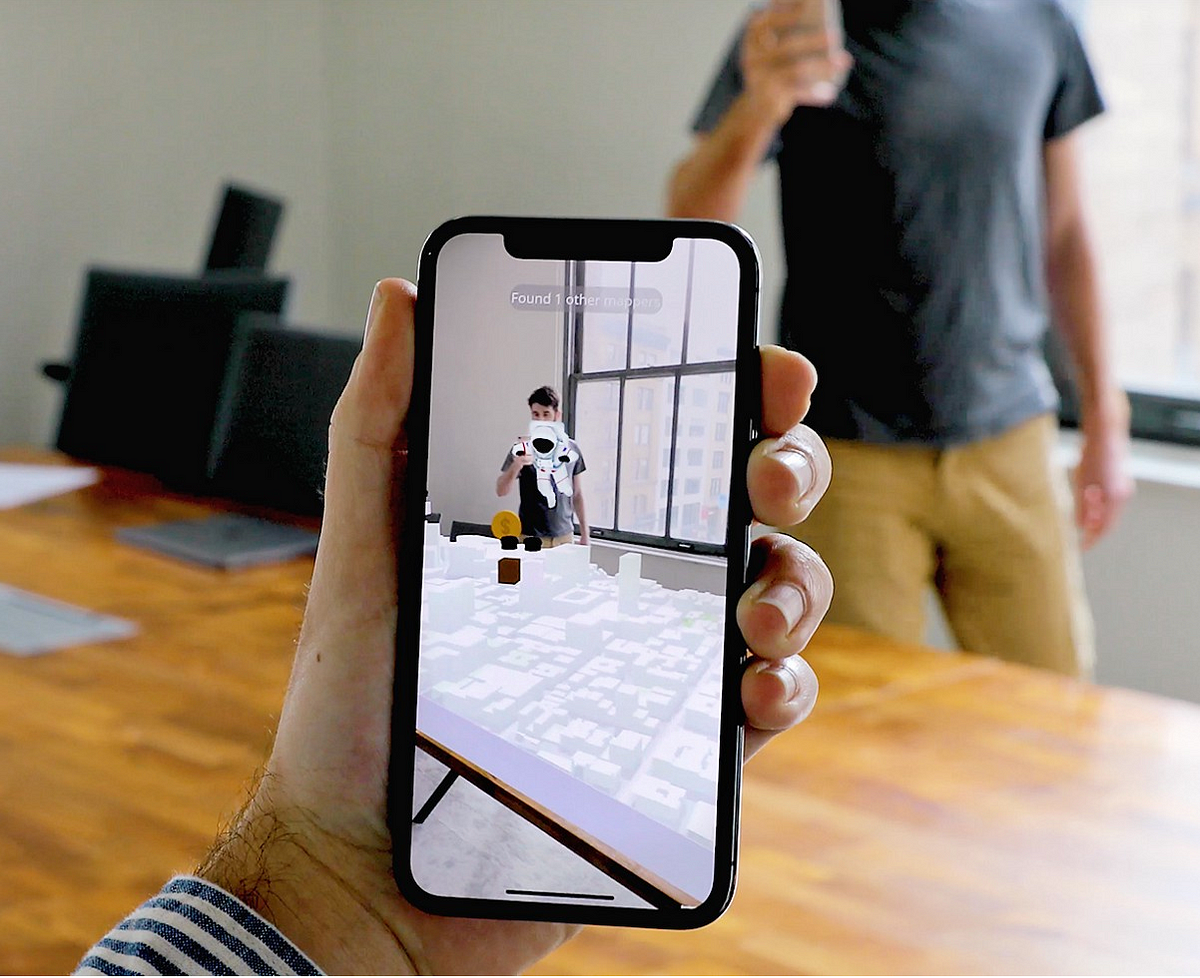
Augmented Reality (AR) is the experience of having the real world “augmented” with some digital overlay. For example, an AR app on a phone may show the real world (through the camera feed) with a digital object placed into the scene.
AR relies heavily on cameras and computer vision to “see” the real world. This experience is different from Virtual Reality (VR), where users wear a headset that only displays an entirely digital world.

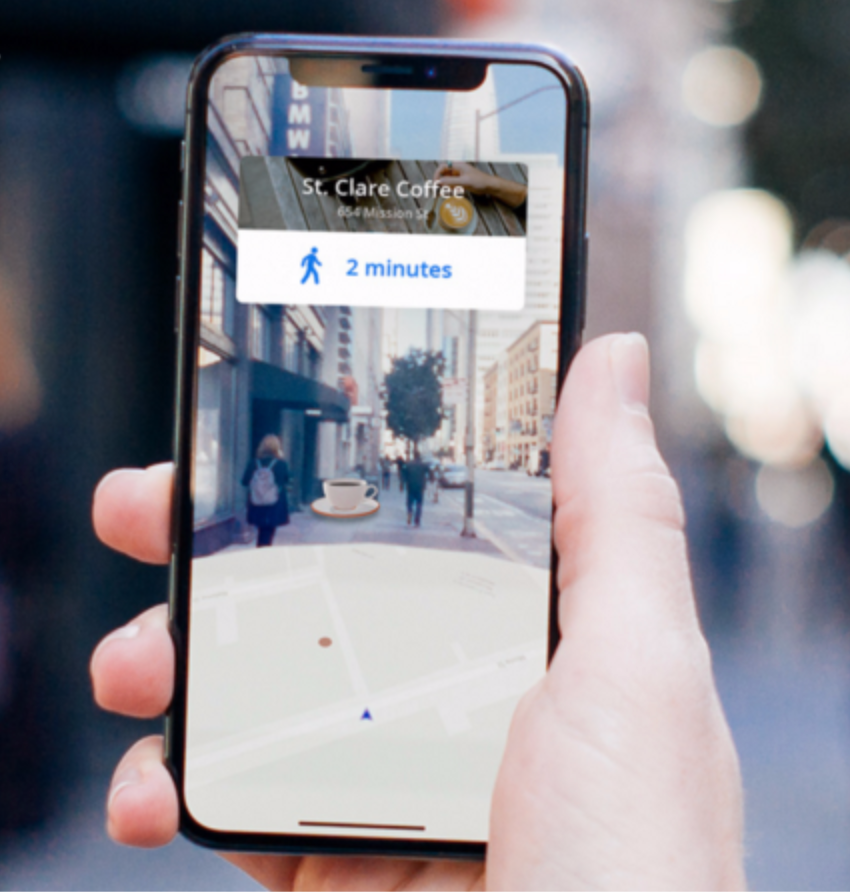
There are two main types of AR: tabletop and world-scale. Tabletop AR constrains the experience to your local space and is something you can see all at once, like a 3D map on a table. World-scale AR uses GPS and other location data to make the experience specific to where you currently are, and changes as you move through the world (like directions that update and guide you through a city).
Considerations and constraints
AR is an overlay onto the real world, so you don’t need to create an entire scene yourself as you would with VR. Instead, you can create a handful of objects that can be added to the world while taking advantage of the background and lighting that already exist — meaning you can focus entirely on the main elements of your AR app without having to worry about the backdrop.
However, these objects need to make sense within the world. They may need to appear to lie flat on a horizontal surface or take up an appropriate amount of space. With world-scale AR, you’ll probably need to show something at a specific latitude-longitude, and so you’ll need to have the experience properly calibrated. Objects that don’t quite align with the world will look jarringly out of place, so remember to test often on a device!
For example, we’ve found that if we’re placing an AR map on a desk, it needs to fit within the dimensions of the desk but not be too tiny either — about laptop-sized. If we place it on the floor, it can be larger and still look reasonable.
Starting and calibrating an AR session
For a session to work, the camera on your device needs to be able to get a good look at the surroundings. Just like when you take a panoramic picture, initiating a session in AR requires deliberate, steady movement with a good view of where you’re trying to place the scene.
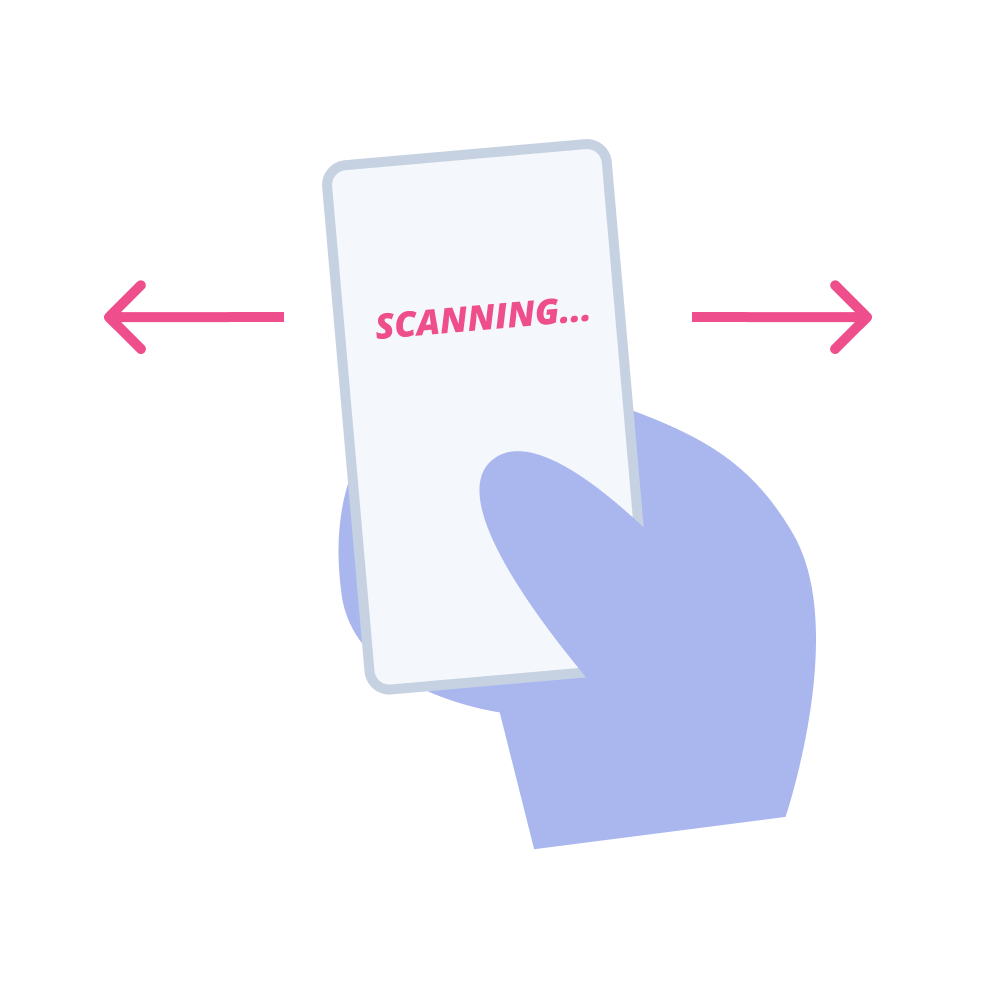
For most of your users, this will probably be their first time experiencing AR. Guiding them through this calibration is important — encourage them to start a session in a well-lit environment, and then move their phones steadily to scan the area.
If the app is having trouble calibrating, suggest scanning a different area with better lighting or more feature points. Feature points are how the camera detects distinct features in an environment. Combined with device movement, this helps the AR app determine distance and how to best position AR objects.
Once your users calibrate the scene, it may still need to be adjusted. We’ve learned to add a few extra controls in our demos to help users adjust the scenes to look right for them. Users can rotate or scale AR maps after they’ve placed them in the scene. Even if the automatic placement works well, we’ve noticed that people still like to make minor adjustments. This interactivity is what ultimately makes AR feel engaging!
Interaction design
So what does interaction design in AR look like? AR interactions can be similar to traditional 2D mobile interactions: tapping on a screen is still a valid way to interact with something. Additionally, you can use any device movement (as detected by the gyroscope or accelerometer, for example) for interaction design. AR allows people to control the “camera” completely and therefore how they engage with a scene. What happens if they tilt their phone, or shake it, or move towards something? These are all new areas to explore.
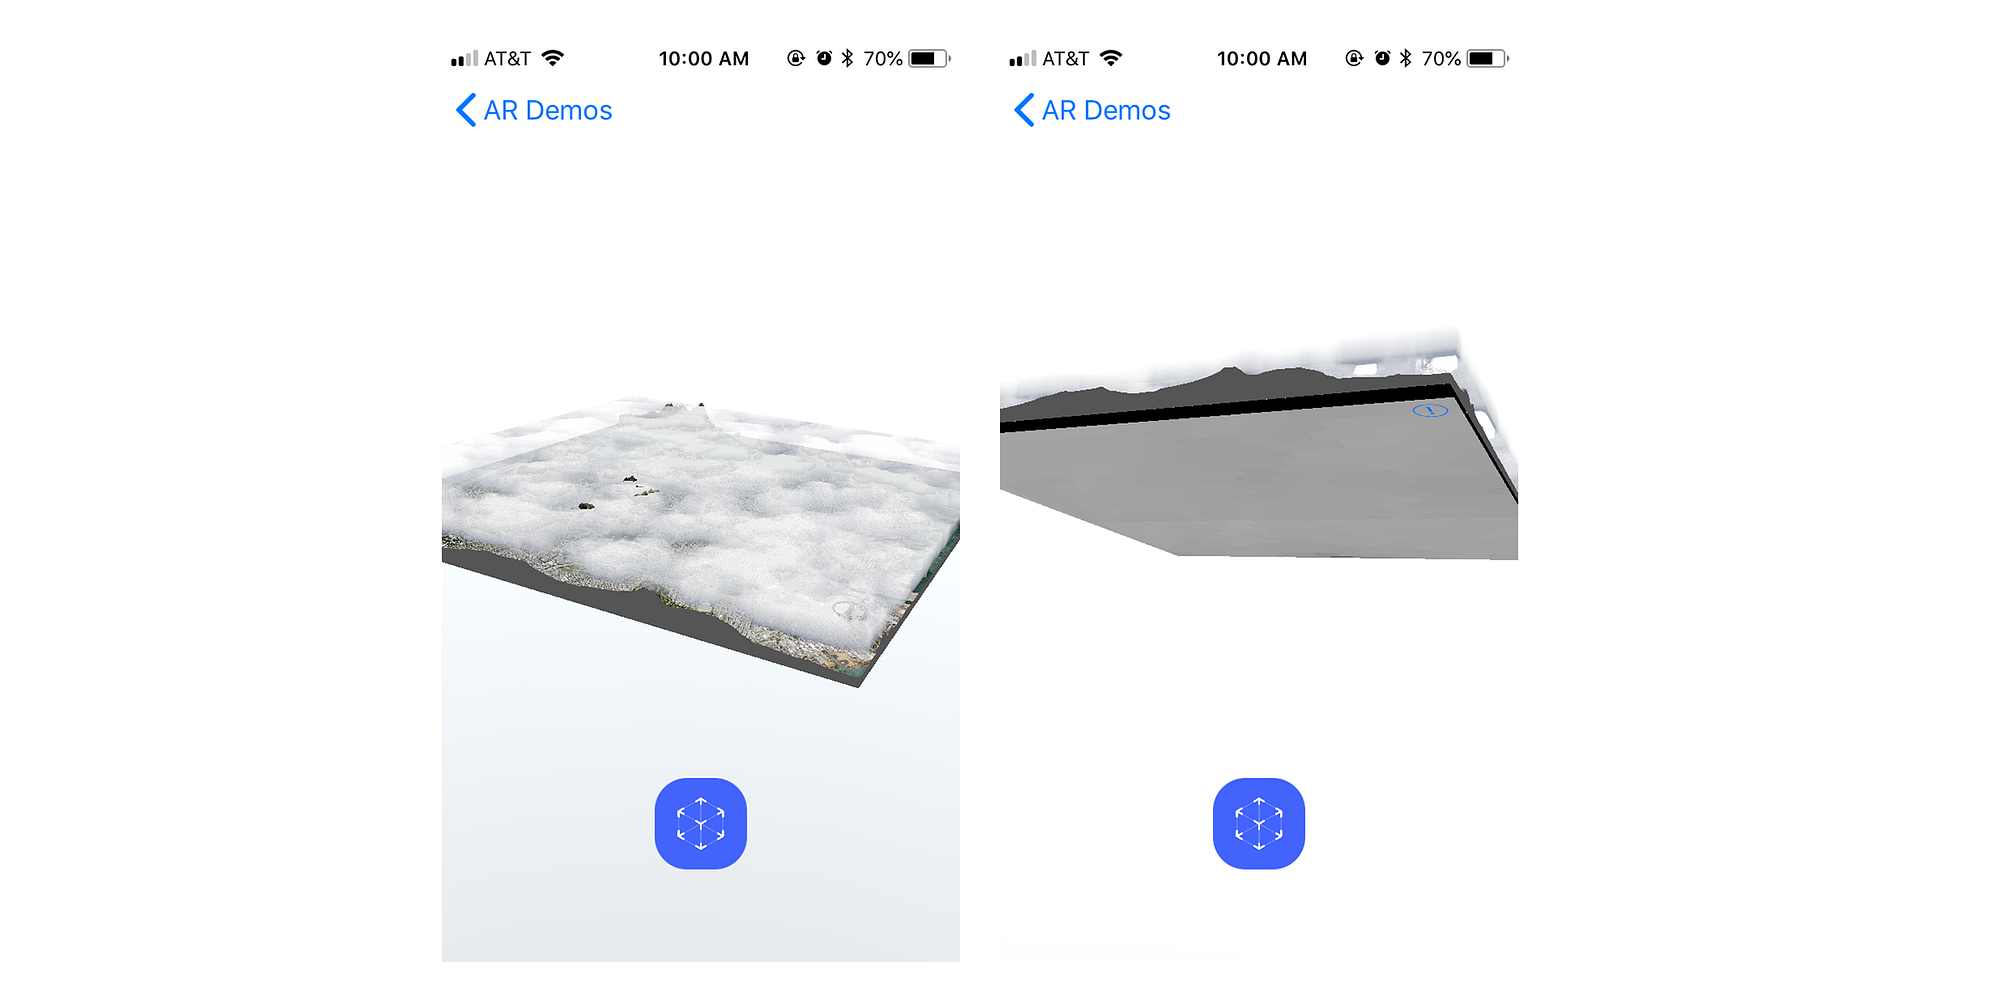
Camera control also means users will be able to look at your AR objects from all angles. While it’s rare for people to want to look under a 3D map, we do add sidewalls and a bottom plane to our maps, so they look fully 3D, no matter how you’re viewing them.
Here, we’re allowing new interaction paradigms, and we also need to teach them to users. Don’t assume anything is obvious or intuitive. Most mobile experiences don’t allow such a significant degree of control, so people often don’t expect to be able to move their device or engage with 3D objects in new ways.
Handling UI and text
UI elements can be simple text labels, 2D icons, or 3D objects themselves. In general, it’s better to avoid large amounts of text or jargon. We’ve found that people tend to be excited to jump right into the AR experience and lots of introductory text can feel like an unnecessary hurdle. Any text you do add will have to account for any possible background (you can’t control where a camera is facing, after all). Consider adding a background color under any text labels to ensure it’s always readable.
3D objects can also be helpful here. Think about the difference between the following:
- a label that says “Scan your surroundings”
- a 2D illustration of a hand holding a phone
- a 3D model of a hand holding a phone that moves as the device moves
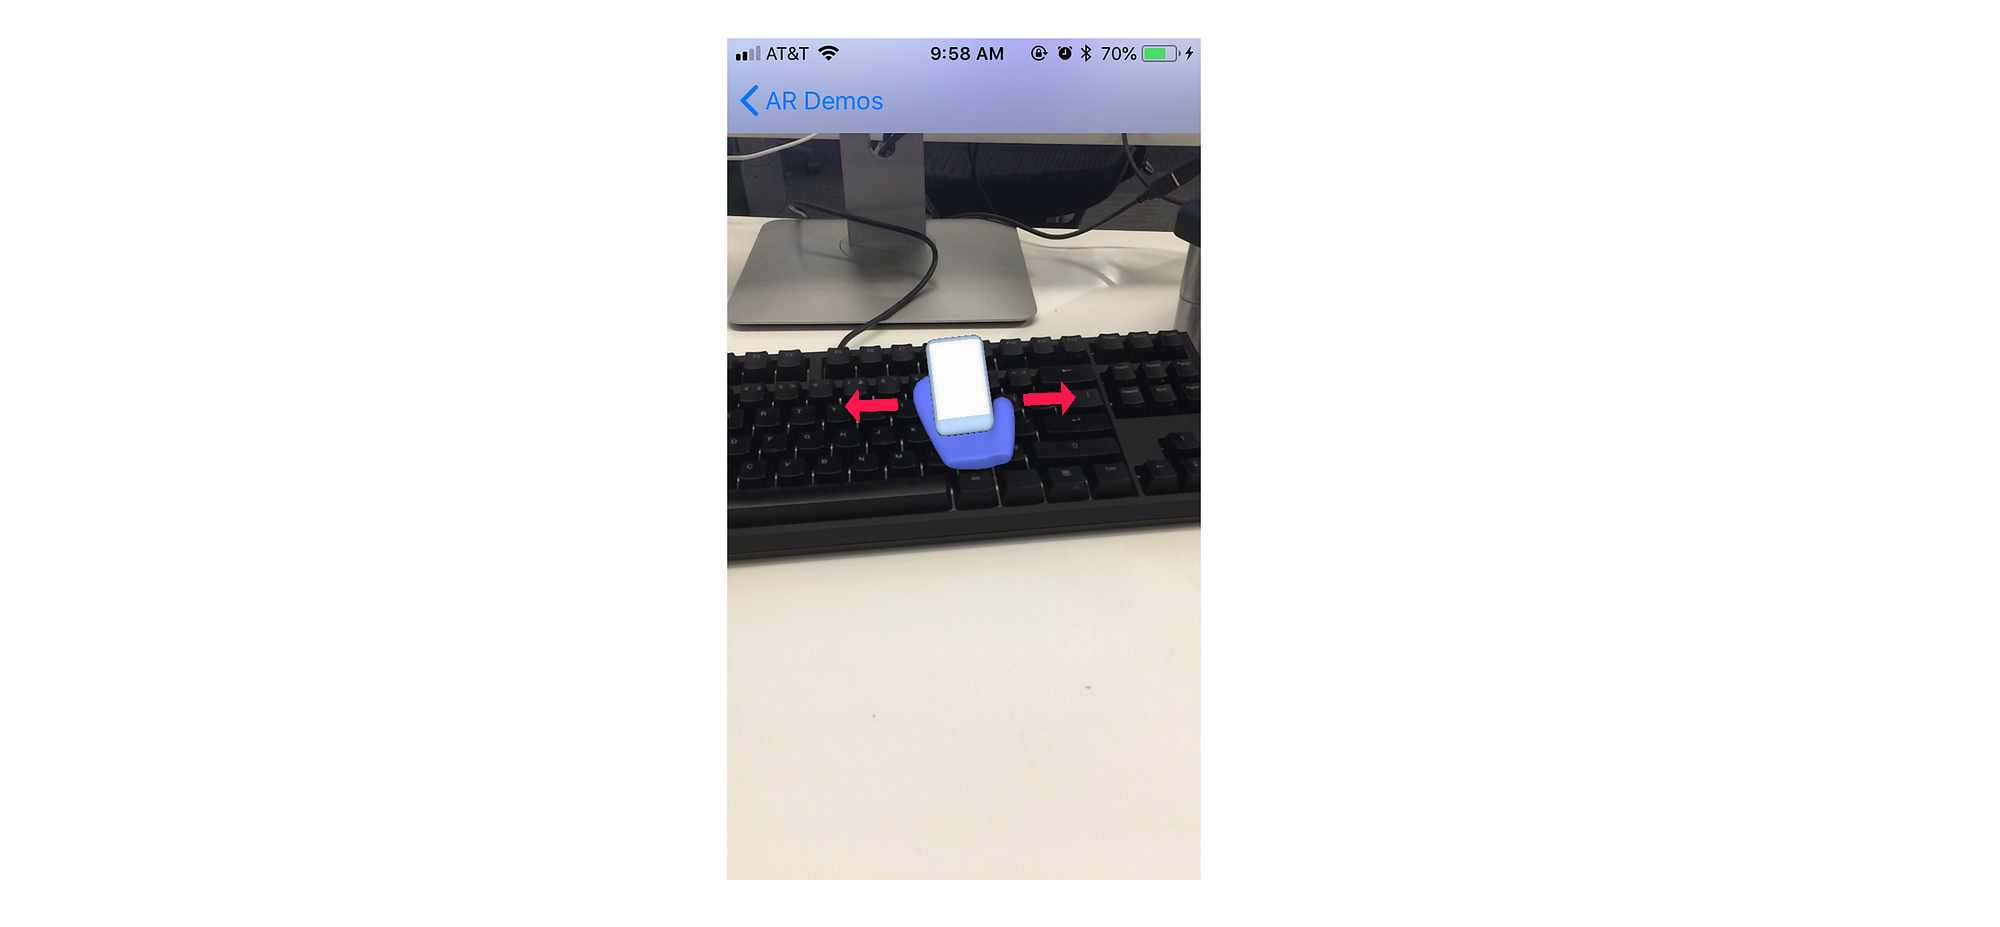
We started prototyping with the label, but we ended up with the 3D model. Not only does it avoid the issue of jargon, but it’s also just more fun. While 3D UI elements are not always necessary, or beneficial, they can help underscore the potential of 3D by offering feedback when the device moves or by showing people what to do in a more literal way.
Thinking ahead
AR is still a new field with a lot to be discovered. While all these tips are a good way to get started, don’t hesitate to experiment and see what rules you can break. Get started with our any of our AR SDKs, and show us what you’re building using #builtwithmapbox.
SOURCE: https://blog.mapbox.com/designing-for-mobile-ar-ea31bb923992
Write by