by Nick Babich
In the world of digital design, we have a lot of different tools that make the process of prototyping really simple. But still pen and paper remain the most useful tools for UX designers.
Paper prototyping can be extremely helpful during the early-stage conceptualizing — when a team needs to explore a variety of different concepts and choose the one that will be used. The paper prototype allows quickly visualize and test various ideas.
This article is a quick guide to paper prototyping & testing for digital interfaces.
Advantages and Disadvantages of Paper Prototyping
Before discussing specific tips of paper prototyping, it’s worth saying a few words about advantages and disadvantages of this approach.
Let’s start with advantages:
- It’s fun. Paper prototyping ought to be fast and fun. If it’s slow and painful, there’s definitely something wrong with your prototyping process.
- Rapid iteration. It takes minutes to create a few different versions of a design.
- Low cost. Paper prototyping is very inexpensive. Basic toolset includes pen and paper. Digital prototyping tools vary in price. But most digital prototyping tools require either a one-time purchase or a subscription.
- Low commitment. No one wants to throw out a digital prototype that took hours to create. It’s much easier to throw out a sketch that takes only 5-minute to create.
- Eliciting honest feedback. An important advantage of paper prototypes is their sketchy look. The prototypes don’t look like you’ve spent a lot of time on them. As a result, people feel more comfortable criticizing sketches rather than polished designs.
- Team building. Since paper prototyping doesn’t require any special skills, anyone can participate in this process. You can easily do paper prototyping as a group activity. People from all kinds of backgrounds can participate in creating paper prototypes.
Now, let’s talk about drawbacks:
- Hard to collect feedback. Paper prototypes require a great deal of imagination from test participants. It might be tough to collect gut reactions on design — people will have a hard time imaging how the future state of a product will look like just by looking at the paper.
- Testing only in person. It’s hard to test a paper prototype when participants are widely dispersed geographically.
- Paper prototyping is an extra step. The downside of a paper prototype is that you’ll need to convert it in a digital prototype anyway.
When to do paper prototyping
Paper prototyping is excellent for:
- Brainstorming sessions (when a team needs to outline the steps in a user flow or explore/validate a variety of layouts)
- Proof of concept testing (when a team needs to conduct a Guerrilla testing)
Some designers believe that paper prototyping is useful only during the early stages of product design. That’s not true. Paper prototypes are helpful at almost every step of the design project. It’s possible to use pen and paper when you have a high-fidelity prototype or even a final product but need to explore a few different options really quick.
11 Practical tips for paper prototyping
1. Have a goal for each prototype
Prior to prototyping, it’s essential to set a clear goal that you want to achieve with a prototype. Think of a problem you try to solve and create a prototype that will help you solve it.
2. Don’t polish your prototypes
Paper prototyping is not about perfecting your arts & crafts skills; it about finds a solution to a problem as fast as possible. Don’t spend time making sure everything looks perfect or is aligned correctly.
3. Get yourself good tools
When it comes to paper prototyping, there are only two tools that you really need: a pen and paper. But it’s possible to make the process of prototyping more effective by using a few extra tools:
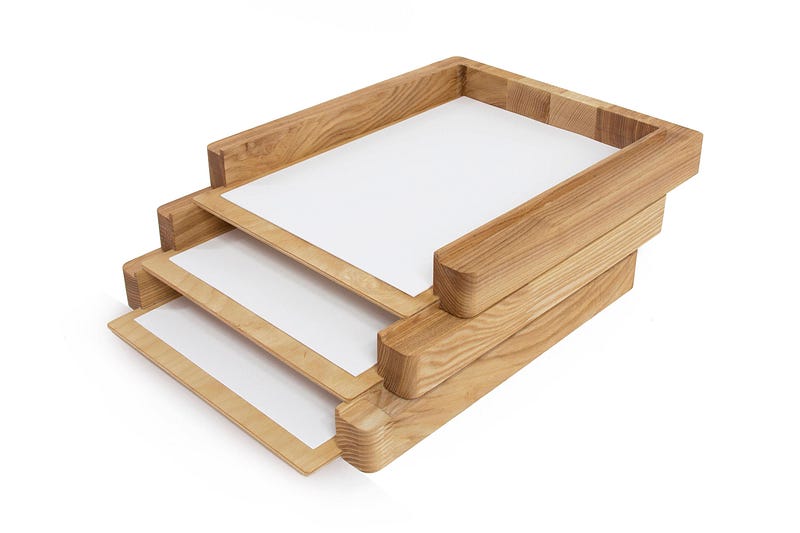
- Desk paper holder. I recommend using three-layer holder — one layer for a clean paper, one layer for sketches in progress, and one layer for finished work.
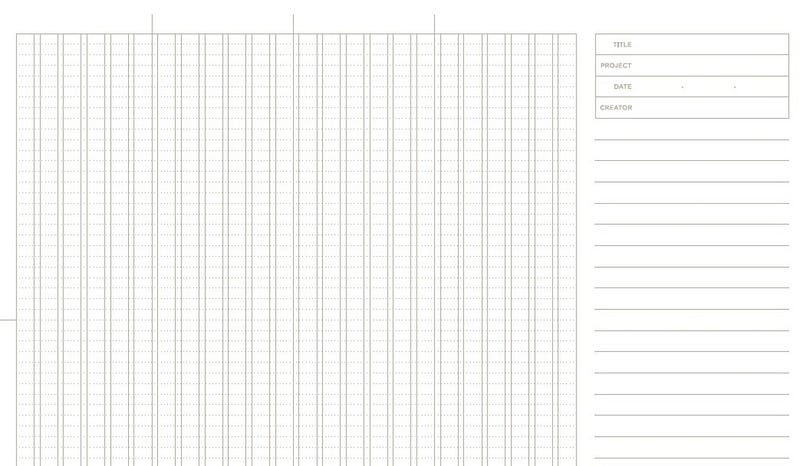
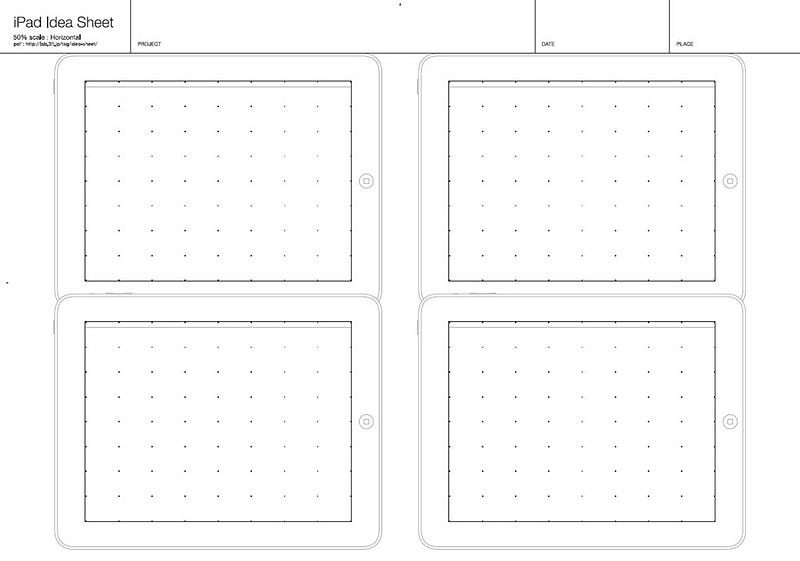
- Paper prototyping kits. Such kits include pre-made sheets (graph paper) and templates that make paper prototyping easier.
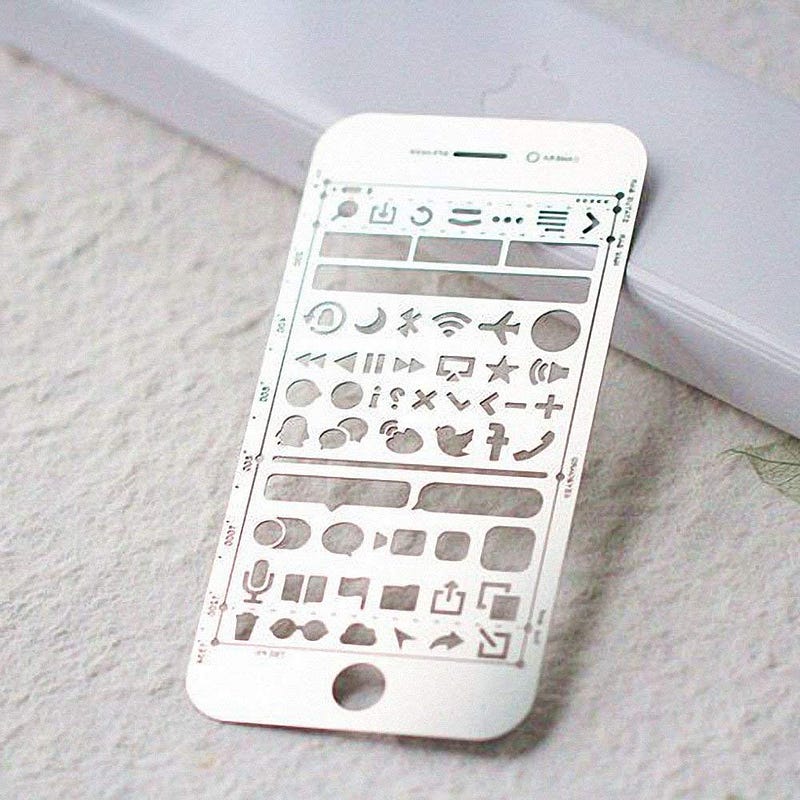
- Stencil. Stencils can help you quickly and accurately create buttons and icons.
Important: Good tools doesn’t mean expensive tools. In fact, it’s recommended using inexpensive pen and papers. Why? Because if you use Moleskin, you might subconsciously focus yourself on polishing your sketches (you don’t want to have ugly sketches in your Moleskin).
4. Use pen, not pencil
When it comes to sketching, many designers stumble on the common pitfall—they start sketching and somewhere in the middle of a process they start to question their ideas. As a result, they abandon some ideas without visualizing them first.
When you start sketching with a pen, it’s a better chance that you’ll finish the sketch. Why? Because pen creates a sense of commitment — it’s impossible to erase a sketch and start over.
5. Draw one sketch per screen
It might be tempting to save space and create a few states of a page/view on the same piece of paper. But it’s better to avoid that temptation. It will be much harder for people to test such prototypes — when you have too many things to show on the sketches, it becomes too cluttered, and test participants will have a hard time trying to understand which group of elements belong to one section.
6. Prototype for the smaller screen first
If your product will be available for mobile and desktop users, it’s recommended to prototype mobile-first. Because of the limited screen space, you’ll be forced to prioritize content. When you optimize content for mobile, it’ll be much easier to scale up your experience for other viewports.
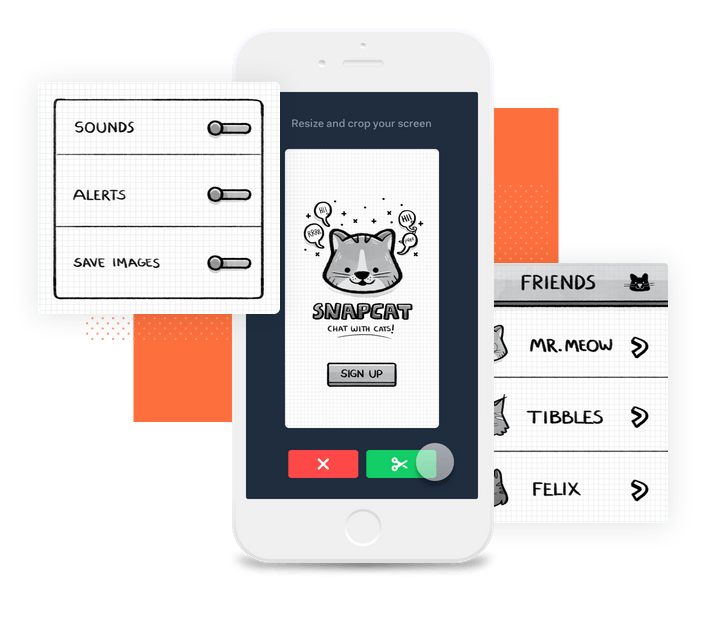
7. Use colors intentionally
Draw up your prototype in black and white. Use colors intentionally — to highlight a specific element (such as buttons).
Also, as soon as you choose the colors you want to use, try to maintain consistency throughout the paper prototype. For example, all interactive elements should be colored in the same color (e.g. blue is used only for interactive elements). It will help you to reduce cognitive load during usability testing.
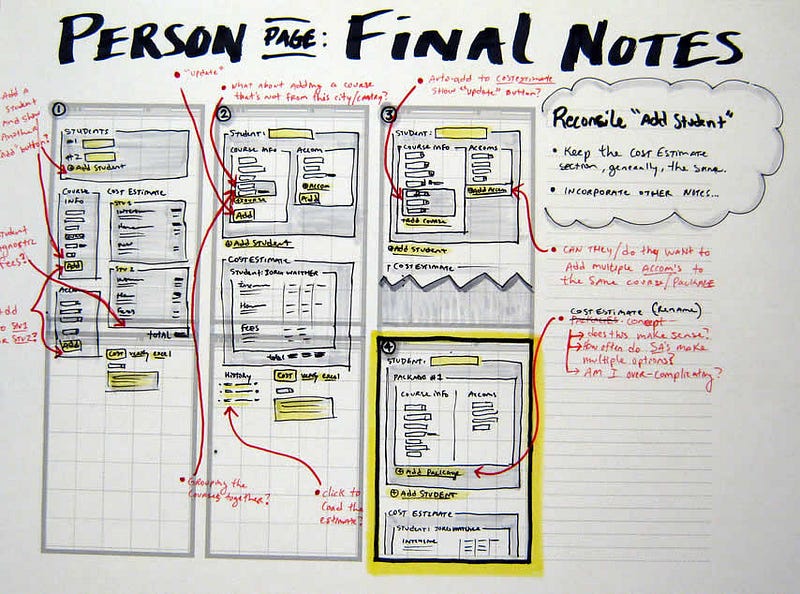
8. Create documentation out of the paper prototype
In the Agile environment, designers and developers always don’t have enough time to write proper documentation. Paper prototyping can be a problem solver. Since paper is a tangible document, designers can reuse them in a design process.
Tip: Take sketches that represent different screens or interactions and add notes. Notes will help you to convey the main idea to other people. Also, it’ll be much easier to recall specific design decisions after a while.
9. Create a digital copy of your prototype
Create a digital copy of your prototype will help you to avoid carrying a pile of paper from meeting to meeting. All you need to do is to take a series of shots using your phone.
Tip: You can also create an animated GIF with a specific user flow. Simply take photos of sketches that represent a particular flow and create a GIF out of them.
10. Create a digital prototype out of a paper prototype
It’s also possible to use paper sketches as a basis for a low-fidelity digital prototype. There’s an excellent tool called POP by Marvel that can help you turn any sketch or image into an interactive prototype.
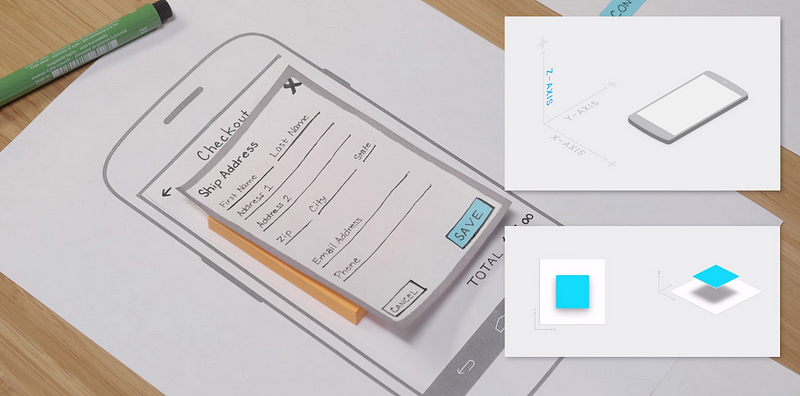
11. Create Complex Effects Using Paper
One of the great things about paper prototypes is the way designers come up with all kinds of creative ways of simulating visual effects or interactions. For example, with a little bit of imagination, it’s possible to create a scrolling effect on a mobile screen.

It’s also possible to explore a different variety of elevations and shadows. Shadows will give your design a more realistic view, and it provides a much better perspective when you are validating your designs with users or clients.
3 Practical recommendations for Testing with paper prototypes
Why we build a prototype in a first place? The main reason for building prototypes is that we can test them on real users, get feedback and learn early whether our ideas and concepts work.
How to conduct testing with a paper prototype is a huge topic by itself that should be covered more extensively. Here I want to share a few basic things that should be taken into account when conducting testing with paper prototypes:
1. Facilitator and ‘Human-computer’ roles
If you plan to conduct testing sessions with a paper prototype, you’ll need two roles for each testing session:
- Facilitator (presenter). A person that instructs test participants and interacts with them.
- ‘Human computer.’ This person remains silent during the session and is in charge of changing screens or screen states, whenever the test participant interacts with a prototype. This role is extremely important — the effectiveness of testing often depends on how good the person playing the computer is at responding to a participant’s actions.
Avoid combining the roles of facilitator and ‘human computer.’ It’s a quite common problem when presenter who acts as a ‘human computer’ miss some vital information from test participants.
2. Create Context for Testing
When showing someone a paper prototype to test participants, you need to be sure that they understand the context of the design. That’s why it so important to clearly explain the testing scenario and how the paper prototype works.
Here are a few fundamental questions that you need to answer before starting a session:
- Why did you create this prototype?
- What do you want to achieve with this testing session?
- What information do you want to receive from test participants?
3. Test with at Least 5 Different Users
Follow standard usability test best practices — test with at least five different users and record the test sessions for further analysis.
Conclusion
Paper prototyping is a great way to create and test new designs quickly. Correctly used, paper prototypes provide maximum learning for minimum effort.
Do you have more tips for paper prototyping? Share your thoughts in comments!
Source: https://uxplanet.org/the-magic-of-paper-prototyping-51693eac6bc3
Written by
Editor-in-chief of UX Planet (https://uxplanet.org). http://babich.biz
UX Planet
UX Planet is a one-stop resource for everything related to user experience.